Getting Started with PolarWave
This guide walks you through creating an account, understanding the dashboard, and uploading your first scan.
1. Create your account
- Go to data.polarwave.app/login to create your account.
- Fill in your name, email address, and a password.
- Once registered you will automatically receive 500 free credits — enough for 20 uploads.
If a colleague shared a referral code with you, enter it during registration to receive a credit bonus.
2. The dashboard
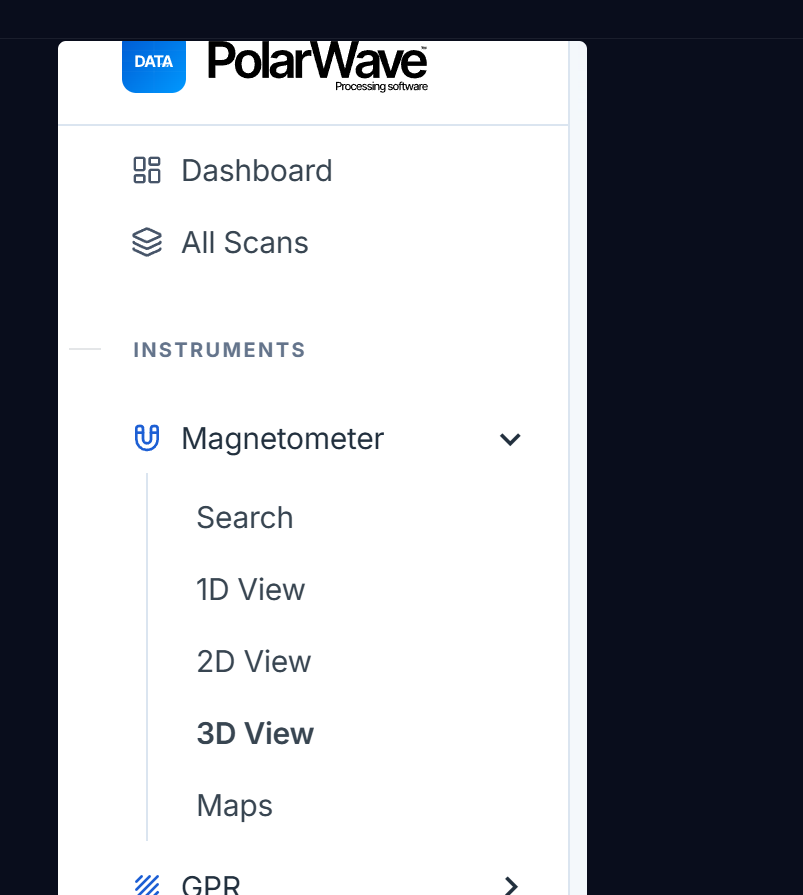
After logging in you land on the main dashboard. The left-side navigation is organised as follows:
| Item | What it contains |
|---|---|
| Dashboard | Overview and recent activity |
| All Scans | Every uploaded scan across all instrument types |
| Magnetometer (Instruments) | TreasureHunter3D and FG Sensors scan files |
| GPR (Instruments) | Ground-Penetrating Radar scans |
| Survey (Instruments) | PolarWave DroneRover and FG Sensors FGA Logger map-based surveys |
Clicking Magnetometer expands the sub-navigation:
| Sub-item | What it does |
|---|---|
| Search | Upload a new scan file |
| 1D View | Line graph along the scan path |
| 2D View | Color-coded heatmap across all scan lines |
| 3D View | Interactive 3D surface render |
| Maps | Scan overlaid on satellite or street map (GPS required) |
The top bar shows your current credit balance.
3. Upload your first scan
Step 1 — Choose the right instrument section
Under Instruments in the left navigation, click the section that matches your device:
- Magnetometer → TreasureHunter3D (DroneRover, GoldenEye Plus, GoldenEye, TreasureLight, TreasureHunter), FG Sensors DIY Gradiometer Kit
- GPR → Any GPR device with standard binary (.BIN) output
- Survey → PolarWave DroneRover Enterprise and FG Sensors FGA Logger
Step 2 — Open the upload dialog
Click the Select File button, or drag-and-drop your file directly onto the file table.
Step 3 — Confirm the device type
The platform automatically recognizes your device from the file. If the detection is wrong, use the dropdown to select the correct device before confirming.
Step 4 — Confirm the upload
Click Upload. The platform reads the file, generates a preview, and adds a new row to your scan table. This typically takes 5–15 seconds depending on file size. 25 credits are deducted from your balance.
4. Open a scan
Click any row in the scan table to open the scan viewer. A toolbar at the top lets you switch between available views:
- 1D — Profile chart along the scan path
- 2D — Color-coded heatmap
- 3D — Interactive 3D surface
- Map (Survey only) — GPS-positioned track overlay on satellite imagery
5. Manage your credits
Go to Plans in the left navigation to:
- View your upload history
- Purchase additional credits
- Redeem a promo code
Next steps
- Magnetometer Viewer → — Learn the 1D, 2D, and 3D view controls
- GPR Processing → — Working with radar scans
- Survey Mode → — Map-based survey analysis
- Filters & Settings → — Full filter reference